Tools You Must Use to Create a Travel Video
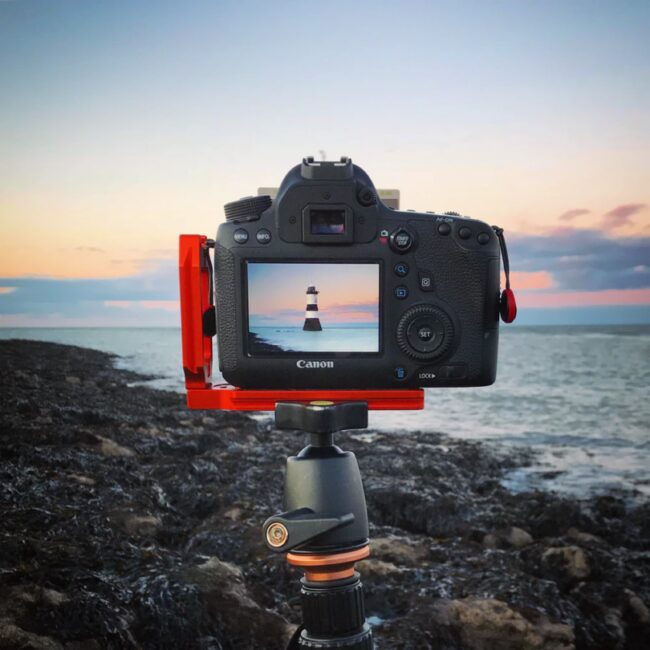
Source:newswire.net
Travel content and video creation have experienced a major leap, with people pursuing it as a full-time career. In the beginning, a simple smartphone is enough to create travel videos on the go, but as you scale you, you need to also upgrade the right tools. Many tools are essential for creating intuitive and stunning travel videos, and a single equipment or tool is not enough for professional-grade and advanced travel videos.
Here are some tools that are inevitably used to create travel videos.
1. Camera
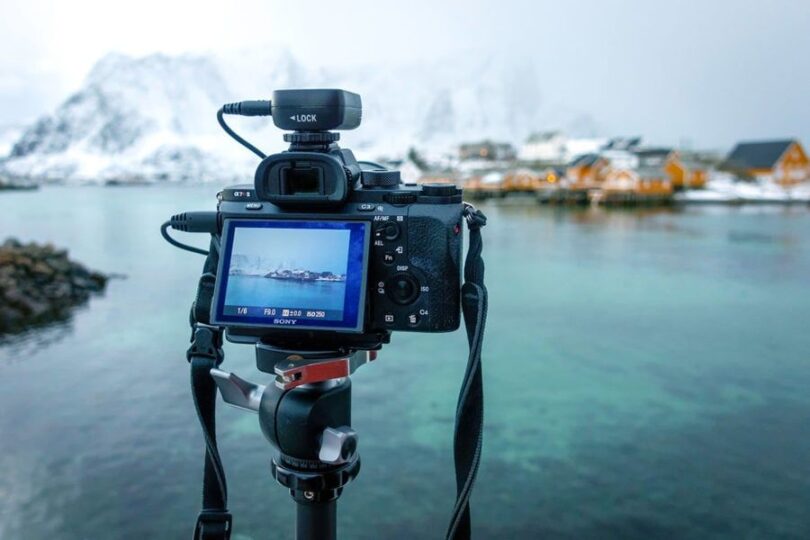
A smartphone is enough to shoot travel video footage for beginners and basic editing tools can be used to edit the videos. However, as you level up, investing in a decent quality camera for shooting videos is highly recommended. A good camera is a prerequisite to putting up a great show. A range of great quality cameras is available in the budget to start shooting travel videos. If you have a good budget, invest in a mirrorless camera for shooting travel videos in 4K resolution. Here are tips for using the right camera equipment for shooting
– For small clips for social media, you can record using your phone. An iPhone is undoubtedly the best choice for high-quality videos with maximum clarity.
If you create vlogging content while travelling, investing in a compact flip camera is recommended. This helps in looking at yourself while vlogging and shooting for travel content.
– If you want to shoot high-end travel videos or travel documentaries, it is best to invest in a DSLR or mirrorless camera. Make sure to purchase the appropriate lens for travel content.
– An action camera like GoPro is great for capturing movement videos or taking underwater shots. GoPro is small, compact and wide-angle and can capture travel content by mounting it anywhere. The compact cameras allow creators to unleash their creativity with built-in image stabilisation.
2. Edit/Post Production Tool
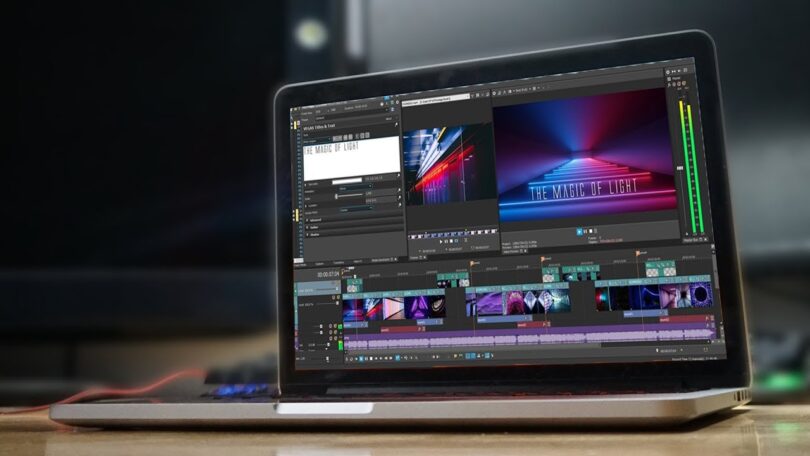
Once you have shot all the travel content or clips, it is time to put all the clips and edit them for the final look. An online video editor like InVideo, Animoto, Kizoa, Clipchapm etc is a must for post-processing video clips. The professional-grade video editors help transform the raw footage flawlessly and can be saved into multiple formats. The video editing software has all the necessary tools, such as adjusting the brightness, colour grading, adding background music, removing noisy background, transitions, effects, filters, etc. It is easy to edit the videos using online editing tools as most of them do not require much technical knowledge and learning graphs. Mastering the editing and post-production of travel videos is a long process, and it becomes better only with time and practice.
3. Camera Stabiliser
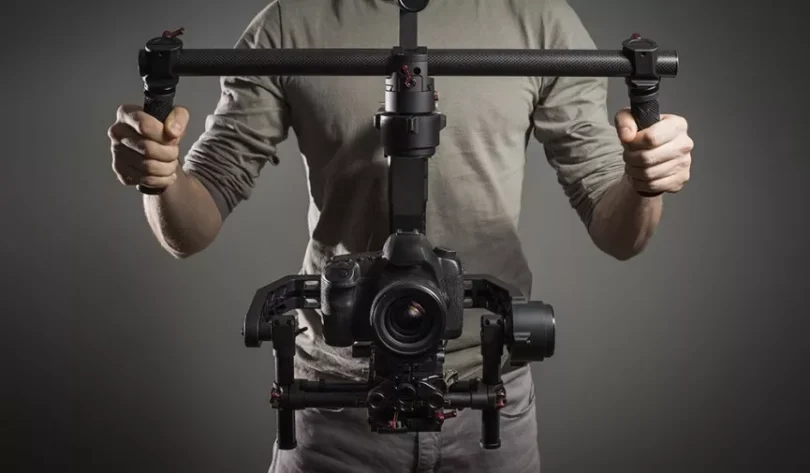
Blurry, shaky videos are disappointing and easily ruin the entire video content. No matter how stably we try to hold the camera or phone, shaky footage is inevitable. Image stabilisation is a primary factor necessary for producing clear and sharp shots. Hence, along with the camera, a good quality tripod or gimbal is necessary. Flexible Gorilla tripods are sturdy and give a convenient shooting experience. If you plan to shoot videos from a phone, you can use a phone gimbal to reduce shakes. For advanced and professional travel videos, it is highly recommended to purchase an advanced gimbal to hold the camera steady.
4. Sound accessories
While cameras and stabilisers define video clarity, poor audio might downgrade the quality of the video. Make sure to invest in a good quality audio recording tool for great quality travel videos. If you have a limited budget, a good quality RODE mic is great for background noise cancellation and makes it easy to shoot even in windy locations. A wireless mic is convenient if you want to conveniently shoot great quality travel videos.
5. Extra batteries and memory cards
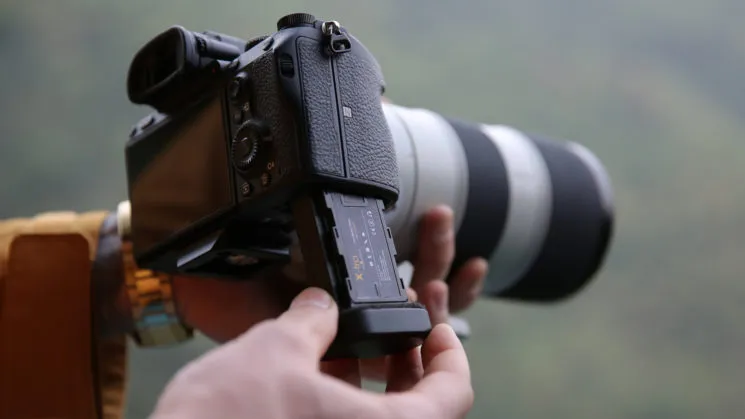
You never know when you run out of memory space or batteries. As a travel content creator, you will mostly be shooting outdoors, and hence it is wise to carry extra batteries and memory for hassle-free video shooting. A pack of 4 to 5 emergency batteries is a good idea to keep things handy. If you shoot raw footage in 4K, the memory card will likely occupy space fast. Keep two or three extra memory cards to make sure you can change it immediately and continue shooting.
6. Drone
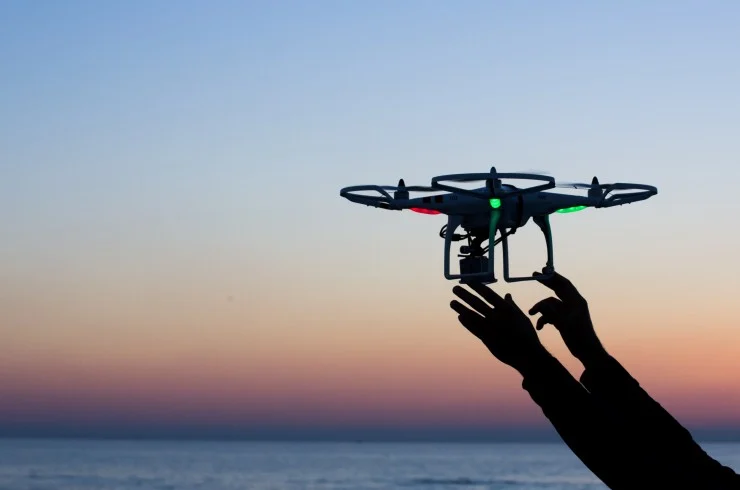
Now, this is only for advanced cinematic travel video professionals. After you have perfected the art of shooting videos on your camera and learnt editing with an online video editor, you can choose to invest in a drone for cinematic shots. The use of cinematic drone shots completely transforms the aesthetic of the video. Drones are expensive, and it is highly recommended to invest in one only when necessary for upgrading the quality of the videos.
7. Transcription software or service
No matter what language you have used in the audio, adding subtitles make it suitable for a global audience. Always add text to your video as sub-titles for increasing engagement. Whether posting on YouTube or any other stream, captions make it easy for people with hearing disabilities. Transcription and generation of subtitles is a time-consuming process. Consider outsourcing the transcription to a professional service provider once you have levelled up and started creating high-value travel content.
Conclusion
Travel videos are quite popular as they add excitement and curiosity and give a visual tour of a place remotely. However, creating the right travel content requires certain tools to give perfection. It is essential to have the necessary tools to help shoot the travel videos. The camera combined with a stabiliser and external mic is a set-up and prerequisite for shooting good travel content. Once all the video clips are in place, the next step is to edit and put together the video clip by clip with the help of a user-friendly online video editor. If you plan to start shooting travel videos or level up, these are the most basic tools necessary for bringing out the best content.

 Family Villa Holidays in Corfu: What Actually Matters for a Stress Free Stay
  Best Things To Do In Cyprus – Beaches, Nature, Boat Trips, Food, Culture, And Family Activities
  Neuschwanstein Castle From Munich Day Trip Guide
  Oxford ─ England’s City of Dreaming Spires
  8 Best Budget-Friendly Wellness Resorts in Europe 2025
  What Art Lovers Should See First When Visiting Munich’s Cultural Core
  Why Online Casinos Have Become a Go-To for Travelers
  Finding Solitude in the Wild Remote Camping in Undiscovered Gems Across 7 US States